A beautiful QR code card on your wedding tables makes the difference between 'nobody scans it' and 'everyone joins in'. Presentation matters, guests are more likely to scan a code if it looks inviting. Here's how to approach it.
Step 1: Create your event and generate the QR code
Go to Partylio, create a free account and start a new event. Give it a name (e.g. 'Wedding Sophie & James'), optionally set an upload period, and download your unique QR code as PNG.
Step 2: Design your card in Canva
Canva is free and has hundreds of wedding templates. Search for 'table card' or 'wedding table card' to find a starting point.
- 1.Open Canva and choose format 'Table card' or 'A6' (standard format for small cards)
- 2.Choose a template that matches your wedding style: minimalist, botanical, romantic...
- 3.Adjust the colours to your wedding colours
- 4.Upload your QR code PNG and insert it
- 5.Add a clear call-to-action (see tips below)
- 6.Export as 'PDF for print'
Read also: 10 QR code ideas for a wedding.
Step 3: What do you put on the card?
This determines whether guests scan the code or ignore it. Our recommendations:
- A clear instruction: 'Scan and share your photos'
- Your names: 'Wedding Sophie & James'
- A warm appeal: 'Help us remember the most beautiful day'
- Optionally: a small note about why guest photos are so valuable
Design tips for a scannable, beautiful code
- Ensure sufficient contrast: black code on white or light-coloured background
- Don't make the code too small: minimum 3 × 3 cm for reliable scanning
- Leave space around the QR code: a white border of at least 5 mm
- Avoid decorative frames that overlap the code
- Test the code after printing with multiple smartphones
Step 4: Have it printed or print it yourself?
For a professional result: have it printed at a local printer or online (Vistaprint, Canva Print). Choose sturdy paper (300 to 350 g) and optionally matt laminate.
For a smaller budget: print them at home on sturdy paper and cut them out. Less refined but just as functional.
Step 5: Placement on the tables
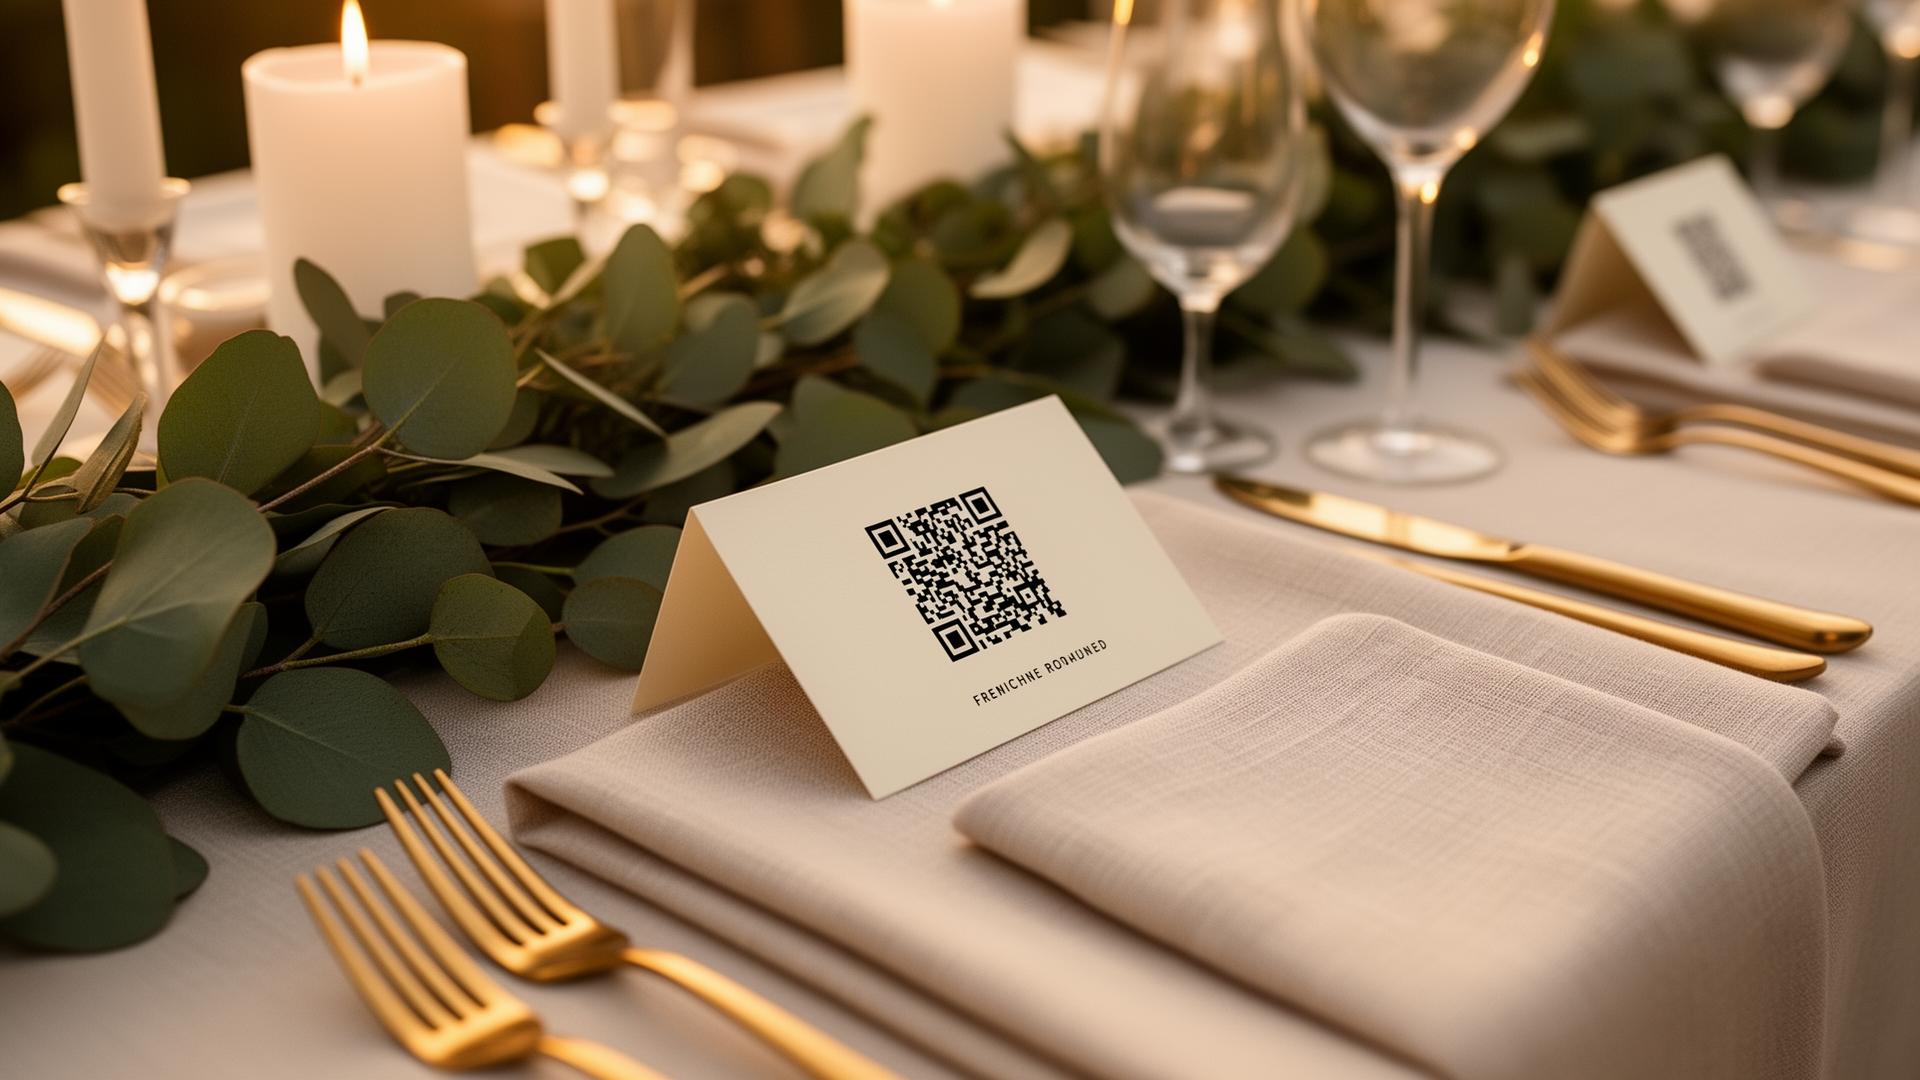
- Place the card upright in a small stand
- Lay it flat next to the cutlery, guests see it when they sit down
- Combine with another decorative element (candle, small flower)
- Place two per long table: one at each end
Bonus: announcement by the MC
The best way to boost participation: have the MC announce it briefly. 'You'll find a card on every table. Scan the QR code and share your best photos with the couple.' Simple, effective.

Try Partylio for free
Create an event, generate your QR code and receive photos from all your guests. No app required.